One-legged forearm wheel pose, also known as eka pada viparita dandasana, is an intermediate yoga pose that requires both strength and flexibility. This challenging pose can provide numerous benefits, including improved spinal flexibility, increased arm and core strength, and an energizing boost to the body and mind. However, it’s important to approach this pose with caution, as it can also be dangerous if done incorrectly or if certain contraindications apply. In this blog post, we’ll explore the steps to safely and effectively practice one-legged forearm wheel pose at home, as well as some tips for modifying the pose to suit your individual needs.
Benefits of the pose
Before we dive into the steps for practicing one-legged forearm wheel pose, let’s take a closer look at the benefits of the pose. One of the primary benefits of this pose is that it helps to improve spinal flexibility. By arching the back and opening the chest, this pose stretches the entire length of the spine, helping to release tension and increase mobility.
Another benefit of one-legged forearm wheel pose is that it can help to build strength in the arms, shoulders, and core. Holding the pose requires significant upper body strength while balancing on one leg challenges the core muscles. Additionally, this pose can help to improve balance and coordination, as well as provide an energizing boost to the body and mind.
Contraindications
While there are many benefits to practicing one-legged forearm wheel pose, it’s important to be aware of the contraindications for the pose. This pose is not recommended for those with wrist, shoulder, or back injuries, as it can exacerbate those conditions. Additionally, anyone with high blood pressure or glaucoma should avoid this pose, as it can increase pressure in the head. Always talk to your doctor or a qualified yoga teacher before attempting this pose if you have any concerns about your health or ability to practice it safely.
How to do one-legged forearm wheel pose
Now that we’ve covered the benefits and contraindications of one-legged forearm wheel pose, let’s get into the steps for practicing it safely at home.
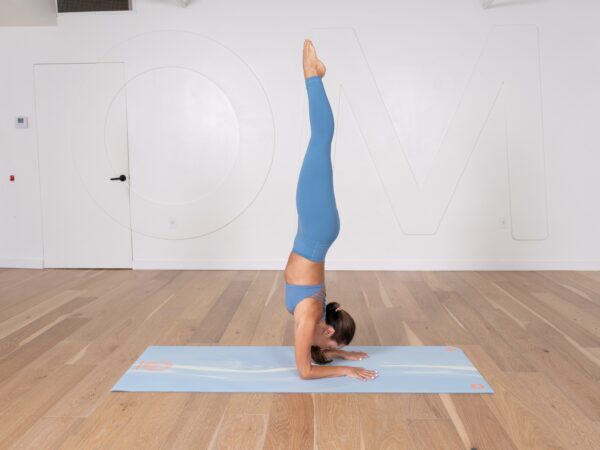
1. Begin by lying on your back with your knees bent and feet flat on the floor. Place your forearms on the mat beside your ears, with your palms facing down.
2. As you inhale, press into your forearms and lift your hips off the ground, coming into a traditional forearm wheel pose.
3. As you exhale, lift one leg off the ground and extend it up towards the ceiling. Keep your hips lifted and your core engaged.
4. Hold the pose for several breaths, then slowly lower your leg back down to the ground. Repeat on the other side.
5. To come out of the pose, lower your hips back down to the ground and release your arms and legs.
Remember to approach this pose with caution and listen to your body. If you feel any pain or discomfort, come out of the pose and take a rest.
Modifications
Modifications to this pose can include using a block or blanket under your head for support, or keeping both feet on the ground while still practicing the traditional forearm wheel pose. One-legged forearm wheel pose is a challenging yoga pose that can provide a variety of benefits for the body and mind. By building strength in the arms, shoulders, and core, as well as improving balance and coordination, one-legged forearm wheel pose can be a valuable addition to your yoga practice.
Additional tips
Here are some additional tips to keep in mind as you practice one-legged forearm wheel pose:
– Keep your gaze soft and focused on the ceiling or sky to help maintain balance.
– Take slow, deep breaths throughout the pose to help calm the mind and body.
– Build up to this pose gradually, starting with traditional forearm wheel pose and adding the one-legged variation once you feel comfortable and confident.
– Practice this pose on a non-slip yoga mat to help prevent slipping or sliding.
In conclusion, one-legged forearm wheel pose can be a challenging yet rewarding addition to your yoga practice. By approaching the pose with caution, mindfulness, and gradual progression, you can build strength, improve balance and coordination, and open up the chest and hips. However, it’s important to avoid the pose if you have any injuries or medical conditions and to seek guidance from a qualified yoga teacher if you’re unsure about the pose. With consistent practice and patience, you can work towards mastering this impressive pose and reaping its many benefits.
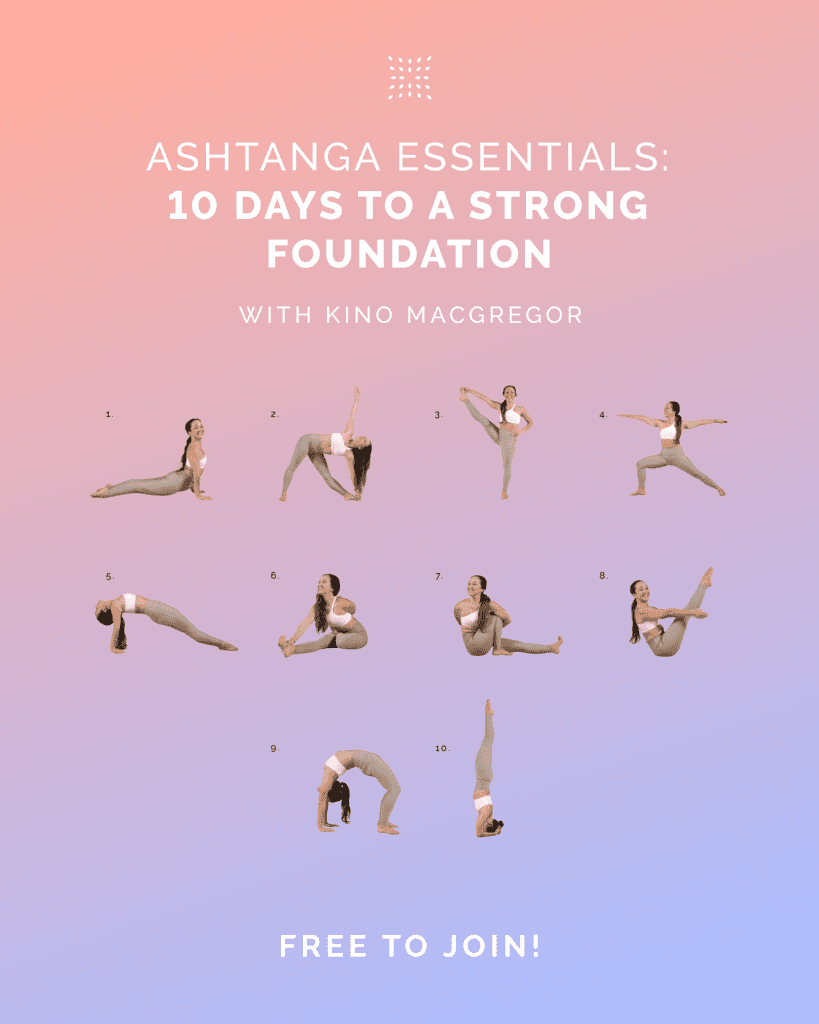
Sign up for classes with Omstars to learn from knowledgeable instructors who can help you get the most out of your practice.