Extended hand-to-big-toe pose, or utthita hasta padangusthasana, stands as a testament to balance, flexibility, and strength. This pose, revered for its ability to challenge both the body and mind, offers a pathway to enhanced physical stability and mental clarity. As practitioners delve into the nuances of this asana, they unlock a deeper connection with their inner selves, fostering a sense of accomplishment and serenity. Whether a seasoned yogi or a beginner, mastering extended hand-to-big-toe pose can elevate one’s practice, paving the way for a more harmonious and empowered journey on the mat.
Benefits extended hand-to-toe pose
Improves Balance and Stability: Extended hand-to-big-toe pose requires focus and coordination, enhancing overall balance and stability.
Enhances Flexibility: This pose stretches the hamstrings, calves, legs, and hips, promoting greater flexibility in the lower body.
Strengthens Core Muscles: Engaging the core is essential for maintaining balance in this pose, leading to stronger abdominal muscles.
Boosts Concentration: Holding the pose demands mental focus, improving concentration and mindfulness.
Promotes Mental Calmness: The meditative aspect of maintaining balance can help reduce stress and promote a sense of calm.
Improves Posture: Regular practice of this pose can lead to better posture by strengthening the muscles that support the spine.
Increases Body Awareness: The pose enhances proprioception, or the awareness of the body’s position in space, contributing to better overall coordination.
Contraindications for extended hand-to-big-toe pose
Injury to the Hamstrings or Hips: Individuals with hamstring or hip injuries should avoid this pose to prevent further strain.
Lower Back Issues: Those with lower back problems may find this pose exacerbates their condition and should proceed with caution or avoid it altogether.
Balance Disorders: Practitioners with balance disorders may struggle to maintain stability in this pose, increasing the risk of falls.
Pregnancy: Pregnant individuals should avoid this pose, especially in the later stages, due to the risk of losing balance and the strain it places on the body.
High Blood Pressure: Those with high blood pressure should avoid this pose, as the effort required to maintain balance can elevate blood pressure levels.
Recent Surgery: Individuals recovering from recent surgery, particularly in the lower body, should refrain from attempting this pose until fully healed.
How to do hand-to-big-toe pose step-by-step
Begin in Mountain Pose (Tadasana): Stand tall with feet together, arms at your sides, and weight evenly distributed across both feet.
Shift Weight to Left Foot: Ground your left foot firmly into the mat, engaging the thigh muscles and lifting the kneecap.
Lift Right Knee: Bend your right knee and bring it up towards your chest, keeping the left leg strong and stable.
Grab Right Big Toe: Reach your right hand down to grasp the big toe of your right foot, using the first two fingers and thumb. If this is challenging, use a yoga strap around the ball of your foot.
Extend Right Leg Forward: Slowly extend your right leg forward, straightening it as much as possible while maintaining a firm grip on the big toe or strap. Keep your spine long and chest open.
Find Balance: Focus your gaze on a fixed point in front of you to help maintain balance. Engage your core muscles to support your posture.
Open Right Leg to the Side: If you feel stable, gently open your right leg out to the side, keeping the left hip grounded and the left leg strong. Ensure your torso remains upright and does not lean to the left.
Hold the Pose: Maintain the pose for several breaths, continuing to engage your core and keep your standing leg strong.
Return to Center: Slowly bring your right leg back to the center, bending the knee and releasing the grip on your toe.
Lower Right Foot: Gently lower your right foot back to the mat, returning to Mountain Pose.
Repeat on the Other Side: Shift your weight to your right foot and repeat the steps with your left leg.
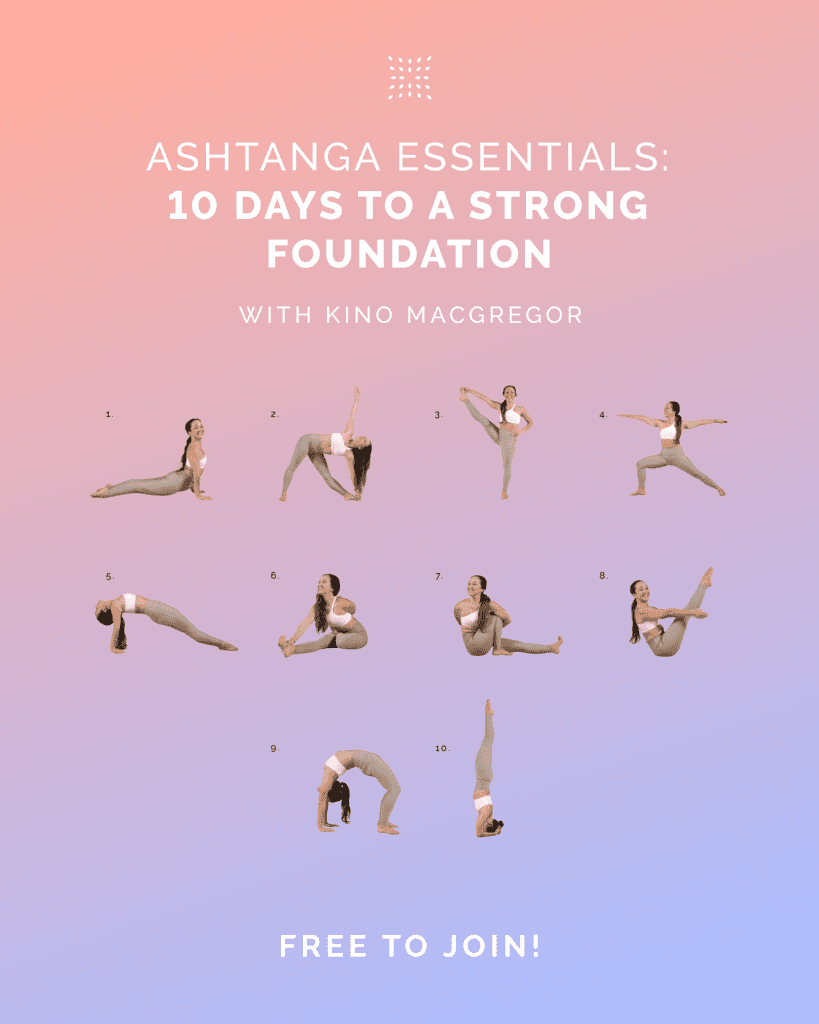
Watch this video with Kino MacGregor for more instructions about doing the pose.
Additional tips
Warm Up Properly: Ensure your body is adequately warmed up before attempting this pose to prevent injury. Incorporate stretches that target the hamstrings, hips, and calves.
Use a Wall for Support: If balance is a challenge, practice the pose near a wall for added stability. Place your free hand on the wall to help maintain balance.
Engage Your Core: Keep your abdominal muscles engaged throughout the pose to support your spine and improve balance.
Keep the Standing Leg Strong: Ensure your standing leg is active and strong, with the kneecap lifted and thigh muscles engaged.
Modify with a Strap: If reaching your big toe is difficult, use a yoga strap around the ball of your foot to extend your reach.
Focus on Alignment: Maintain proper alignment by keeping your hips level and your spine long. Avoid leaning to one side.
Breathe Deeply: Practice deep, steady breathing to help maintain focus and balance. Inhale to lengthen the spine and exhale to deepen the stretch.
Be Patient: Progress in this pose takes time and practice. Be patient with yourself and avoid pushing beyond your current limits.
Listen to Your Body: Pay attention to your body’s signals and avoid any movements that cause pain or discomfort. Adjust the pose as needed to suit your individual flexibility and strength levels.
Are you looking for more guidance on your yoga journey? Sign up for Omstars to get access to thousands of yoga classes in the comfort of your own home. Click here to start your subscription.